Small Models. Big Stories.
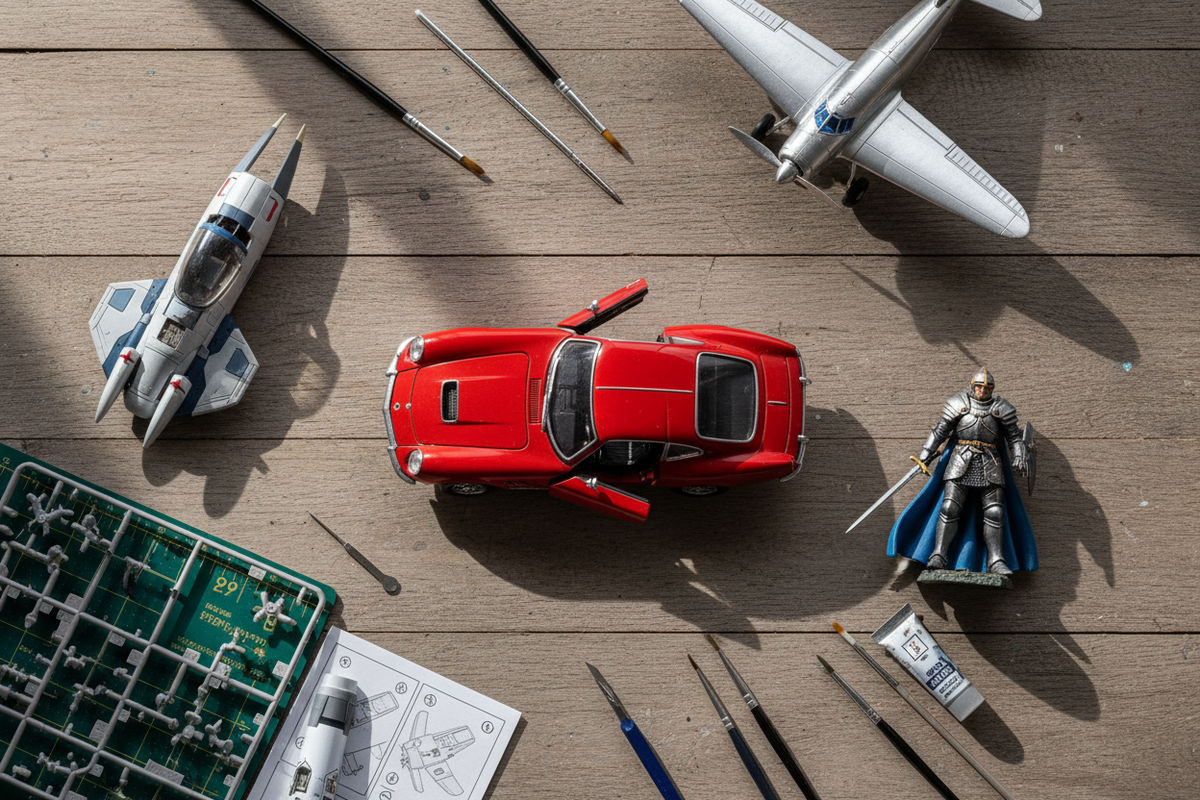
Imagine a beautifully assembled miniature car sitting on your desk.
You've spent hours building it, carefully attaching each component and adding the finishing details.
But when you photograph it, something feels wrong.
The model looks small, the background is distracting, and the image doesn't capture the details you worked so hard to create.
The problem may not be your model.
It may simply be how you're photographing it.
Miniature photography is a creative hobby that combines model building, visual storytelling, lighting, and composition. With a few simple techniques, you can make even a small model look surprisingly realistic.
At HobbyLoom™, we believe your finished creations deserve to be seen at their best.
1. Start With a Story, Not a Camera
Before taking your first photograph, decide what you want the image to communicate.
Is your model car parked outside a vintage garage?
Is your miniature café welcoming its first customer?
Is your model airplane preparing for a flight?
A clear idea helps guide your decisions about background, lighting, and camera position.
Creative exercise: Write a one-sentence story about your miniature before photographing it.
For example:
"A classic sports car waits outside a quiet roadside diner just before sunset."
Now you have a visual direction.
2. Photograph at the Model's Eye Level
One of the easiest ways to reveal a miniature's scale is to photograph it from directly above.
Instead, lower your camera until it is close to the height a person would have within the scene.
For model vehicles, try positioning the lens near the headlights.
For miniature rooms, photograph through the doorway or from a corner.
For figures, bring the camera close to their eye level.
This creates a perspective that makes the scene feel more immersive.
3. Choose a Background That Supports the Scene
Your background can either strengthen the illusion or immediately destroy it.
Avoid visible household clutter, oversized furniture, and unrelated objects.
Try using:
-
Printed scenic backgrounds
-
Neutral cardstock
-
Small architectural backdrops
-
Miniature landscaping materials
-
Painted boards
-
Simple fabric backgrounds
A background doesn't need to be elaborate. It simply needs to support the subject.
4. Understand Lighting
Lighting is one of the most important elements in miniature photography.
Soft light often works well for detailed models because it reduces harsh reflections and helps reveal textures.
Try photographing near a window with indirect daylight.
For more control, use a small LED light and a diffuser designed for photography.
Experiment with light from the side to reveal depth.
Tip: Avoid placing powerful hot lamps close to delicate plastic, painted, or paper components.
5. Pay Attention to Scale
A realistic miniature photograph depends on consistent scale.
A tiny car beside an oversized stone may look unnatural.
A miniature figure beside a plant with enormous leaves can immediately reveal the illusion.
Choose accessories that match the scale of your main subject.
Even small details, such as road markings and furniture dimensions, can make a noticeable difference.
6. Control Focus and Depth of Field
Close-up photography can produce a very narrow area of focus.
If only the front of your model is sharp, try increasing the camera's depth of field where your equipment allows.
On a smartphone, tap the main subject to focus and avoid unnecessary digital zoom.
Keep the camera steady with a tripod or stable support.
Take several photographs and compare the results.
7. Add Realistic Environmental Details
A miniature scene becomes more convincing when it contains believable details.
Consider:
-
Tiny signs
-
Scale-appropriate plants
-
Road markings
-
Furniture
-
Miniature books
-
Small tools
-
Textured ground surfaces
Avoid adding too many elements.
The main model should remain the visual focus.
8. Create a Simple Photography Setup
You don't need a professional studio.
A beginner setup might include:
-
Smartphone or camera
-
Stable tripod
-
Neutral background
-
Adjustable LED light
-
Small reflector
-
Clean work surface
-
Miniature props
Start with the equipment you already own.
Upgrade only when you understand what additional equipment would help you achieve.
9. Try Three Creative Photo Challenges
Challenge One: The Realistic Street Scene
Photograph a model vehicle from a low angle with a simple road backdrop.
Challenge Two: The Cozy Interior
Photograph a miniature room using warm lighting and carefully arranged furniture.
Challenge Three: The Dramatic Close-Up
Focus on one interesting detail, such as a mechanical component, tiny bookshelf, or model dashboard.
These exercises help develop different photography skills.
10. Build a Portfolio of Your Creations
Keep your favorite images in a digital album or printed collection.
Record the model name, project date, and photography setup.
Over time, you'll be able to see improvements in both your building and photography techniques.
Recommended HobbyLoom™ Collections
-
Model Building & Collectibles
-
Miniature Building Kits
-
DIY Diorama Materials
-
Maker Tools & Accessories
-
Creative Photography Accessories
Final Thoughts
A miniature doesn't need to be large to tell a remarkable story.
With thoughtful lighting, perspective, and composition, your model can become the centerpiece of an image that feels like a real place.
Explore HobbyLoom™ and discover the creative tools and miniature projects that inspire your next photograph.
HobbyLoom™ — Build the Details. Capture the Story.